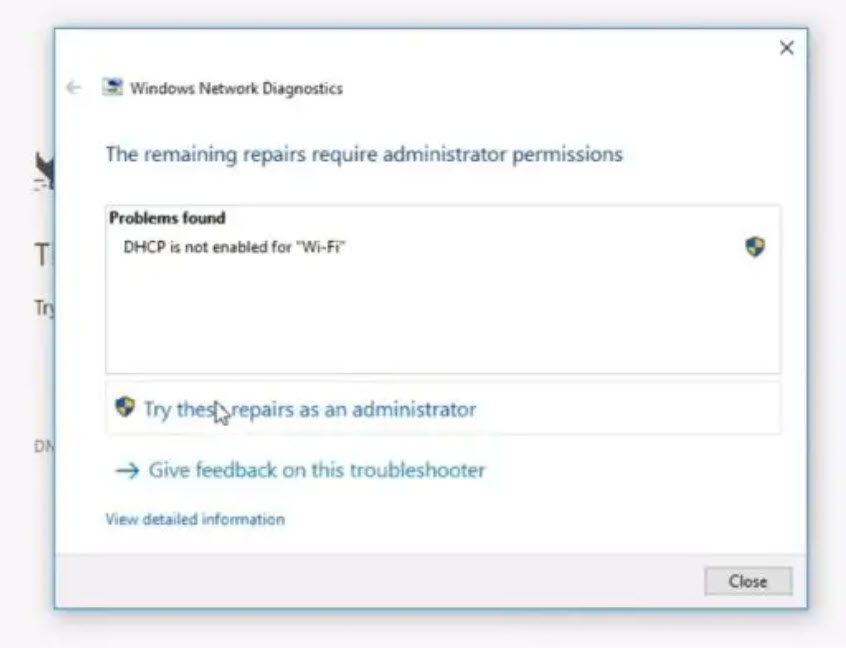
How to Fix "DHCP is not enabled for Wi-Fi" Error
Here's the solution

Step 1: Enable DHCP Automatically (Recommended)
- Press Win + R, type ncpa.cpl, and hit Enter.
- Right-click your Wi-Fi adapter > Properties.
- Double-click Internet Protocol Version 4 (TCP/IPv4).
- Select: Obtain an IP address automatically Obtain DNS server address automatically
- Click OK > OK and restart your PC.
Why this matters: DHCP automatically assigns IP addresses, resolving connection issues.
Step 2: Restart DHCP Client Service
- Press Win + R, type services.msc, and hit Enter.
- Locate DHCP Client in the list.
- Right-click it > Restart. If it’s stopped, click Start.
- Set Startup type to Automatic.
Why this matters: Ensures DHCP requests are processed correctly.
Step 3: Reset Network Configuration
- Open Command Prompt as Admin (press Win + X > Terminal (Admin)).
- Run these commands one by one: netsh winsock reset netsh int ip reset ipconfig /release ipconfig /renew
- Restart your PC.
Why this matters: Resets corrupted network settings to default.
Step 4: Update Wi-Fi Drivers
- Press Win + X > Device Manager.
- Expand Network adapters, right-click your Wi-Fi device > Update driver.
- Select Search automatically for drivers.
- If no updates are found, visit your PC manufacturer’s website to download the latest driver.
Why this matters: Outdated drivers can disrupt DHCP functionality.
Step 5: Check Router Settings
- Access your router’s admin page (typically 192.168.1.1 or 192.168.0.1).
- Log in and ensure: DHCP Server is Enabled. IP Address Range is properly configured (e.g., 192.168.1.100 to 192.168.1.200).
- Save settings and restart the router.
Why this matters: The router must be configured to assign IP addresses via DHCP.
Step 6: Temporarily Disable Firewall/Antivirus
- Go to Settings > Update & Security > Windows Security > Firewall & network protection.
- Turn off Domain, Private, and Public network firewalls temporarily.
- Test your Wi-Fi connection. If it works, reconfigure your firewall to allow DHCP.
Why this matters: Overly strict firewalls can block DHCP requests.
Step 7: Assign a Static IP (Advanced)
If DHCP still fails:
- Open Network Connections (ncpa.cpl).
- Right-click Wi-Fi > Properties > IPv4.
- Enter manually (example for home networks): IP: 192.168.1.150 Subnet: 255.255.255.0 Gateway: 192.168.1.1 DNS: 8.8.8.8 (Google) or 1.1.1.1 (Cloudflare).
- Click OK and test connectivity.
Note: Use this only as a temporary fix. DHCP is preferred for most networks.
Prevention Tips
- Regularly update Windows and router firmware.
- Avoid manually assigning IPs unless necessary.
- Use a reliable antivirus to prevent malware from altering network settings.
If the issue persists, contact your ISP or network administrator. Let me know if you need further help! 😊
